https://www.gravatar.com/avatar/a7cc4843f7c957afe8575b1f8c45ef44?s=240&d=mp

Multifarious musings from my meandering mind...

To see posts in Esperanto or Shavian (𐑖𐑱𐑝𐑾𐑯), use the language selector at the top of the screen.

Corne V4.1 Mini

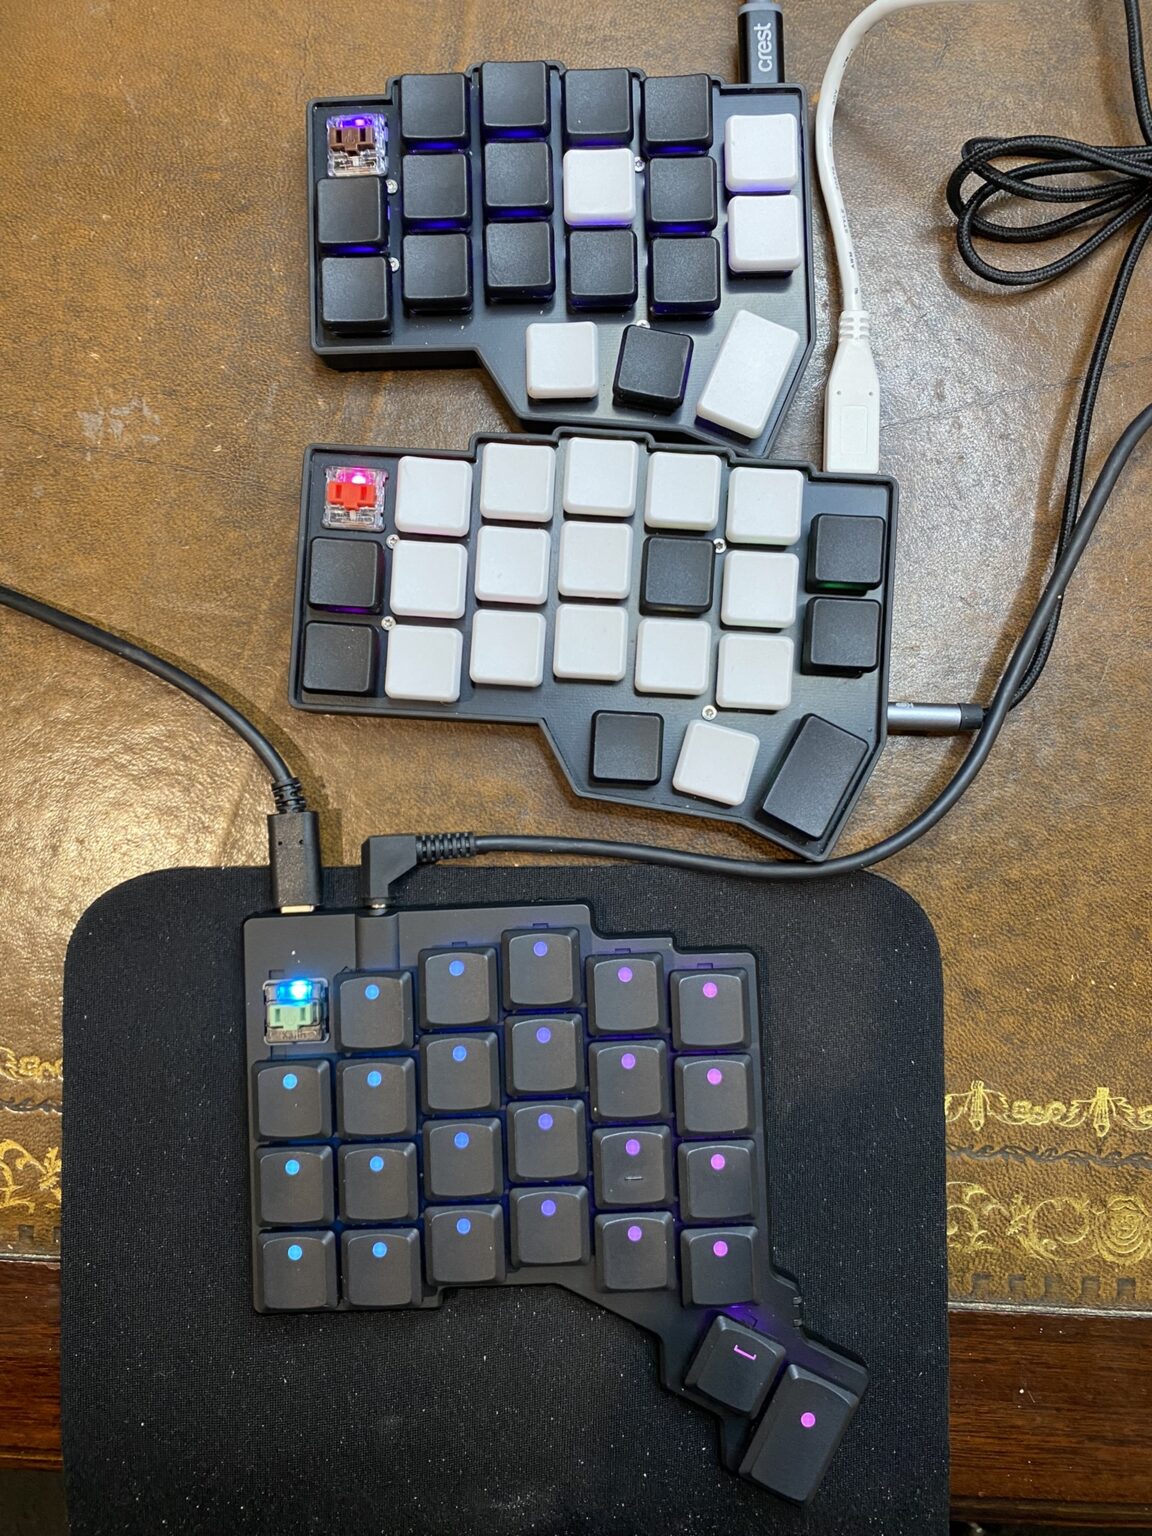
I’ve had so much fun with my Corne V4 keyboard, I decided to take advantage of the sale the vendor had going, and order a second one! My idea was to keep the 46-key Corne at home connected to my Linux workstation, and acquire a 40-key Corne V4 mini to carry around with my laptop. I ordered the same choc brown switches as before, but instead of black keycaps I ordered white keycaps. This would allow me to swap the different coloured keycaps in order to better highlight the home keys.

Corne V4 Update

I’ve been continuing my journey into split mechanical keyboards. The 46-key Corne v4 Board that I recently bought seemed to have an unreliable USB connection on the left-hand side, with it losing power if the cable was lightly depressed. If the USB cable was connected to the right-hand side then it worked reliably. I decided to disassemble the left hand side and inspect the soldering on the USB connector to see if there could be a dry joint.

34 Key Layout for Corne Keyboard

I’ve been experimenting a bit more with the Corne keyboard. I saw a video from Ben Vallack where he lays out a mapping for his 34-key keyboard.

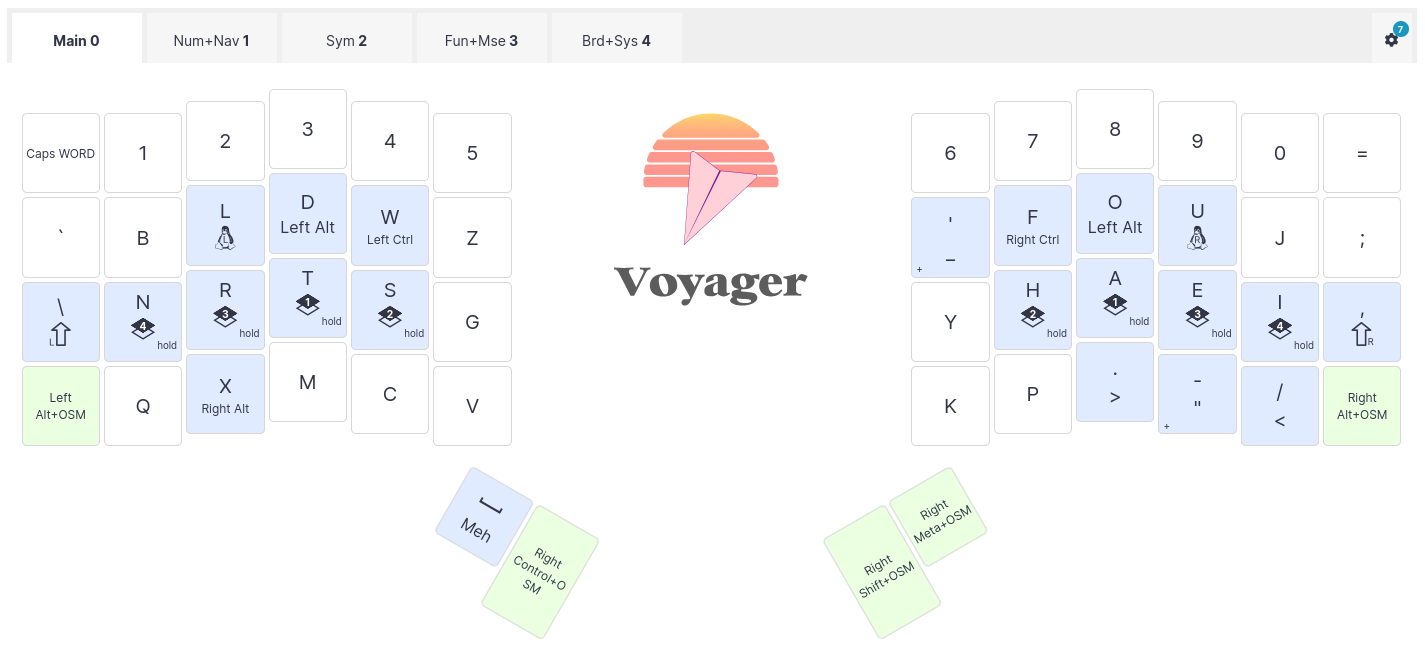
In this video, he explains how holding down layer and modifier keys can cause fatigue, which he avoids by using β€œsticky” layer keys and β€œone-shot” modifiers. In the layout I am currently using, I use a similar layer scheme to Ben in which the shift key is moved to the left thumb. This is the layout I am currently working with:

Corne v4 Keyboard Keymap

I recently acquired a pre-built Corne 46-key ergonomic split keyboard.

Rather than use the default QWERTY keyboard arrangement, I have programmed it to use a COLEMAK-DH layout, which allows for much more efficient typing. Because there are a reduced number of keys, many of the keys need to be overloaded with multiple functions. This is normally done with two techniques:

  • Tap-Modifiers: If you tap a key, it will output its normal character. However, if you hold the key, it can act as a modifier such as Shift, Ctrl, Alt, etc.. This means you don’t need to dedicate separate keys for this, and these modifiers can be placed on the home row of the keyboard where you don’t need to reach for them.
  • Layers: just like how you hold the SHIFT key to get uppercase characters, you can define layers of your keyboard that can be accessed through “custom SHIFT” aka “layer” keys.

The layer scheme that I chose is based on a 36-key layout called “miryoku ”, which is a well thought-out design for minimalist keyboards. The layers are selected through the three keys at the bottom of each half by using your thumbs.

Learn Japanese with Song Lyrics (Houki Boshi from Bleach)

A great way to learn a language is through songs. They are usually repetitive, often (but not always) a bit slower than regular speech, and have a catchy tune. This helps to cement words and structures into the head.

I was watching an anime called Bleach , and maybe a season into it they had a song at the end of each episode named Houki Boshi (γ»γ†γζ˜Ÿ) by the singer-songwriter Younha . She’s actually Korean, but released an album Go! Younha in Japanese, and Houki Boshi was one of the hit singles on that album.

How to calculate the series resistor for an LED

When we connect an LED to to a battery, we often need to connect a resistor is series to limit the current. I saw this question come up in a facebook group, and thought it might be useful to use this as a simple illustrative example of doing circuit design.

The basic circuit we will be considering is shown below:

We have a current \(i\) leaving the battery/voltage source, passing through the resistor giving a voltage drop of \(V_R\), then passing through the LED with a voltage drop of \(V_{f_{LED}}\) before returning to the battery. So, how can we work out the value of the resistor we should use?